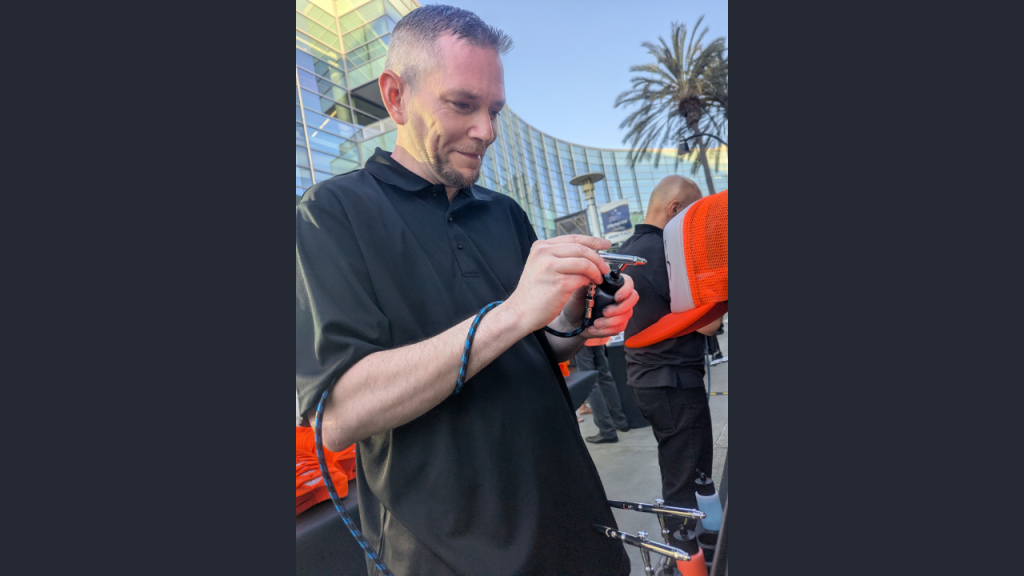
Proper maintenance of your airbrush is key to ensuring it performs at its best and lasts for years. Pete Marin, founder of Airbrush Events, has over 30 years of experience and shares his expert maintenance tips in the video below. Here’s a detailed overview of Pete’s routine to keep your airbrush in top condition.
Why Regular Airbrush Maintenance Matters
Airbrushes are precision tools that require regular care to function properly. Without proper maintenance, paint residue can build up, leading to clogs, uneven spray patterns, and even permanent damage. Regular cleaning not only extends the life of your airbrush but also ensures consistent, high-quality results for your art.
Pete Marin’s Essential Airbrush Maintenance Routine
1. Establish a Cleaning Schedule
Pete recommends thoroughly cleaning your airbrush after every 10–15 uses. This prevents residue buildup, ensuring smooth operation. While regular flushing with water or airbrush cleaner after each use is important, periodic deep cleaning is essential for optimal performance.
2. Use the Right Cleaners
- Airbrush Cleaner: Use a standard airbrush cleaner to flush out paint and remove light buildup.
- Carburetor Cleaner: For deeper cleaning, Pete advises using a stronger cleaner like carburetor cleaner. This effectively dissolves stubborn residue that airbrush cleaners may not remove.
3. The Cleaning Process
- Flush the Airbrush: Begin by flushing out paint using gravity. This ensures most of the paint is removed before applying any cleaner.
- Apply Cleaners: Carefully apply airbrush cleaner or carburetor cleaner, making sure to clean every part of the airbrush, including the needle, nozzle, and paint cup.
- Rinse Thoroughly: Rinse all components to ensure no cleaner residue is left behind.
4. Care for the Needle
The airbrush needle is delicate and requires special attention:
- Check for Damage: Inspect the needle for burrs, bends, or other imperfections that could affect performance.
- Repurpose Damaged Needles: Slightly damaged needles can still be useful for internal cleaning tasks, such as clearing clogs.
- Polish the Needle: Use a specialized needle sharpener to smooth out minor imperfections. A polished needle reduces paint buildup and improves spray consistency.
5. Final Steps for Maintenance
- Clean All Parts: Run cleaner through every component, ensuring the nozzle, air cap, and trigger mechanism are free of debris.
- Reassemble Carefully: Adjust and reassemble the airbrush, checking that all parts fit snugly but not too tight.
- Lubricate the Trigger: Apply a small amount of WD-40 or similar lubricant to the trigger mechanism. This keeps the trigger smooth and responsive.
Pro Tips for Long-Lasting Airbrush Performance
- Store Properly: Always store your airbrush in a clean, dry place to prevent dust or moisture from affecting its components.
- Use High-Quality Paints: Low-quality paints can clog the airbrush more easily, making frequent cleaning necessary.
- Replace Worn Parts: Over time, some parts may wear out. Replacing nozzles, needles, or seals as needed will keep your airbrush in top condition.
Watch Pete Marin’s Full Tutorial
For a step-by-step visual guide, watch Pete Marin demonstrate his airbrush maintenance routine in the video below. His expertise will help you master the art of airbrush care, ensuring your tool is always ready to deliver outstanding results.